- Modify a default TomTom style for vector maps with use of the Maputnik editor
- Apply the newly created style
- API key
- Npm and Node.js
 The contents of the “sdk” folder should look like this:
  There are several directories and files, but we are only interested in the following ones:
 - glyphs - contains fonts used for rendering vector maps
- sprites - contains images used for rendering vector maps
- styles - contains json files with style definition
- glyphs - these are fonts in a binary pbf format. They are transformed to speed up rendering process. To read more about it, please go to here. This is a rather advanced article.
- sprites - they consist of two files:
- image file - a png file containing concatenated images
- index file - a json file describing content of an image file.
npm install && npm start
 If you would like to know more about running offline examples, you may take a look at one of our tutorials: Running examples locally
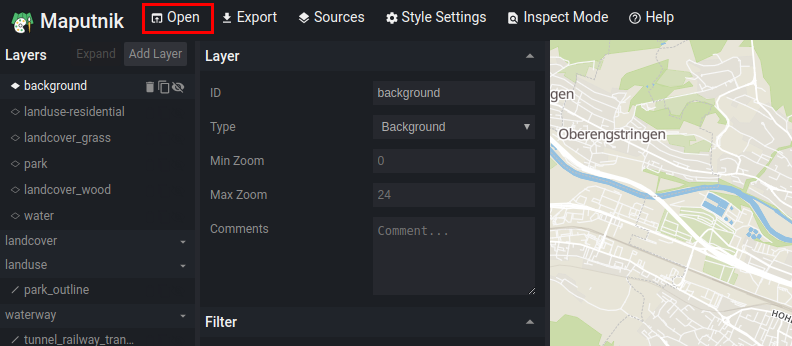 Now, in a popup window, select the “Upload” button.
  For this particular tutorial, we will edit the “basic_main.json” style. You may find it in the “styles” directory described in the”Extract the examples” step.
 Next, replace “{key}” placeholder in each of the tile URLs with your API key.
 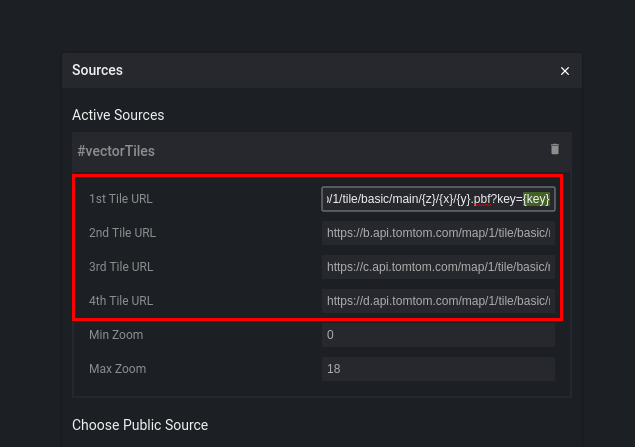 Close the overlay to apply the changes by clicking on X in the top right corner.
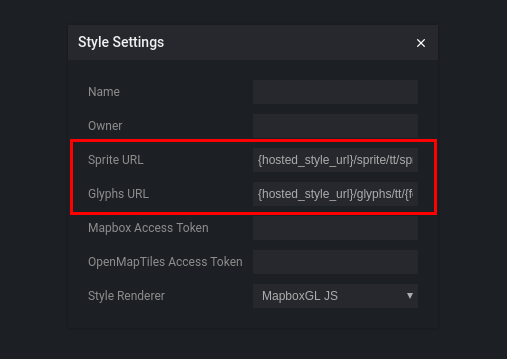
 In a popup window, replace “Sprite URL” with
 http://localhost:8080/sdk/sprites/sprite
http://localhost:8080/sdk/glyphs/{fontstack}/{range}.pbf
 Close the overlay to apply the changes by clicking on X in the top right corner.
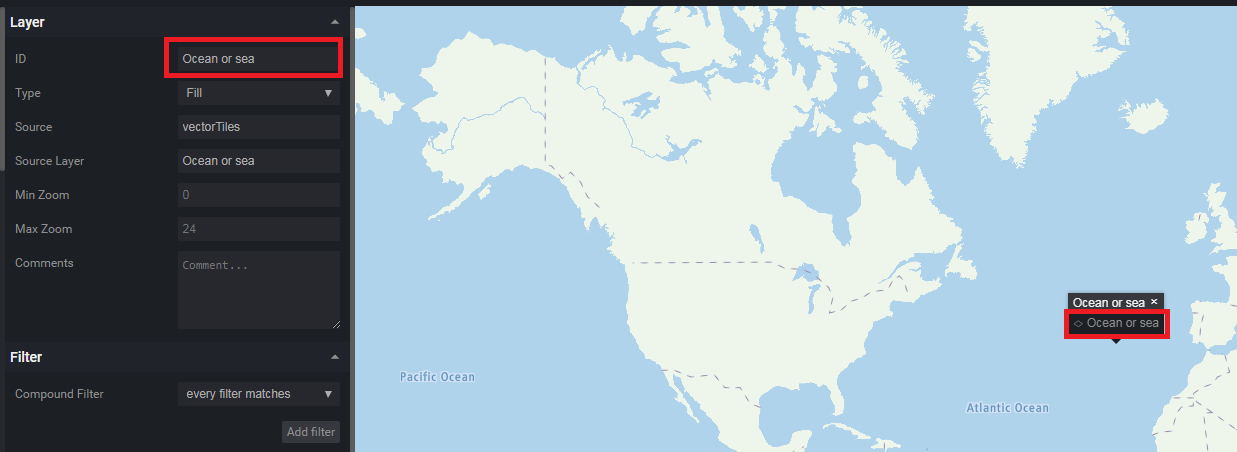 From “Paint properties”, select “Color”.
 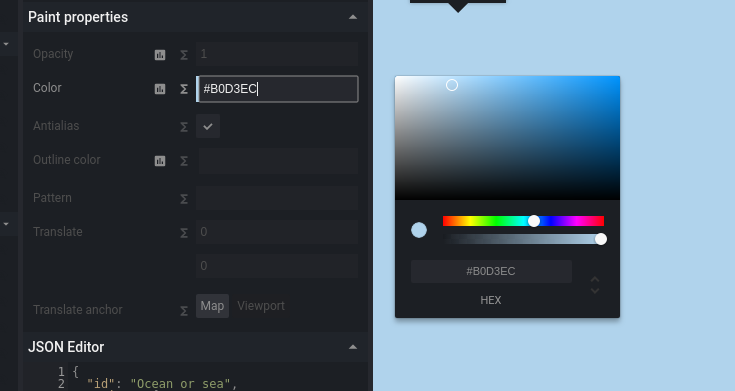 Set a color of your choice. After this operation, oceans should be filled with a chosen color.
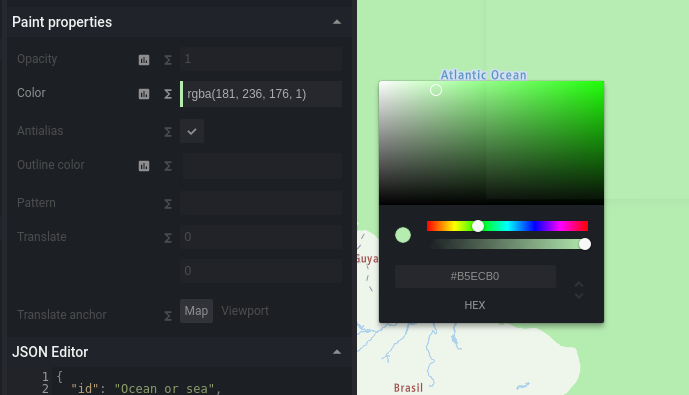
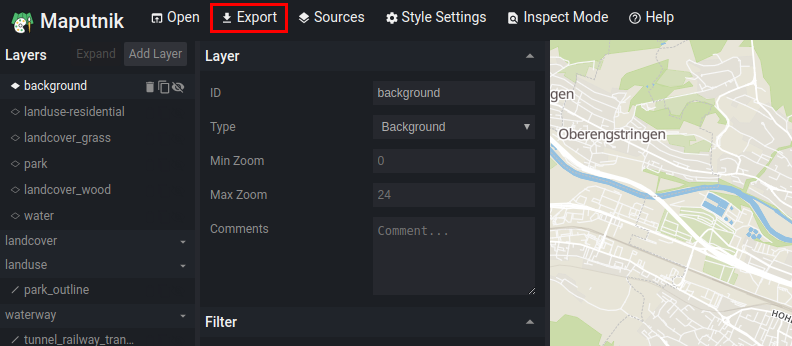 In a popup window, choose the “Download” button.
 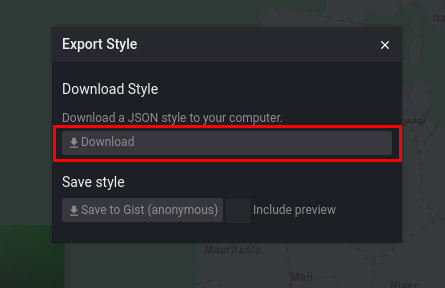 Your new style should be available on your computer. Rename to gangdam.json ;) :)
 Above steps allow you configure a default TomTom style for edition in Maputnik. If you are interested in the topic of vector tiles or the style customization, please find the following list of suggested further readings:
 - Online Maps Vector Tile documentation (https://developer.tomtom.com/online-maps/online-maps-documentation-vector/tile) in order to create custom styles you need to know more about a data source. In advanced use cases, it is useful to know possible layers’ names and their types.
- Maputnik editor documentation (https://github.com/maputnik/editor/wiki) guides and tutorials for the Maputnik editor